Except for the “Smart Remove”, FocoClipping also provides “Manual Remove” in case you are not satisfied with the “smart remove” outcome. Usually, “Manual Remove” applies to images with complex foreground and background. The following guide will show you how to remove image background manually.
Step 1: Upload image
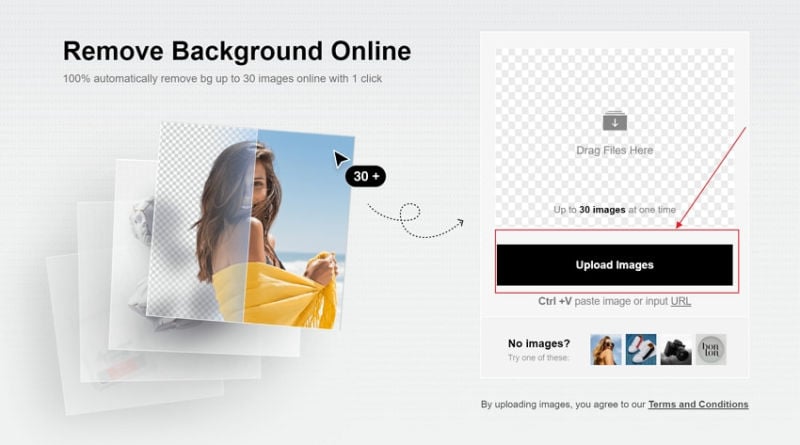
Pay a visit to FocoClipping’s official website, click “Upload Image” to choose your desired photo.

Step 2: Choose “Manual Remove”
After loading your image, the AI tool of FocoClipping will begin to work. Forget this instant process and choose “Manual Remove” on the left top of the editor interface. Then there will be a pop-up to ask you “This will discard changes, continue?”, click “Ok”.


Step 3: Start the “Manual Remove" process
Now click the blue mark tool to “keep” the object on the photo and the red mark tool to “remove” the unwanted background. And then wait for the smart AI technology to work out. Within seconds, you will see the clipped images on the right side of the editor interface.

Manual remove Tips:
Tip 1: Make sure to stay well within the foreground and background, and don't mark too much. The below is a wrong example.

Tip 2: If you are accidentally marking too much with the blue tool and red tool, you could use the “Eraser” tool to adjust the marked area.

Tip 3: Through the whole process of “Manual Remove”, you could use the “Undo” or “Start over” to go back to the last step or totally restart the manual removing process.

Tip 4: Below the editor interface, there are “Drag” tools to help you move the image freely and (Zoom in)(Zoom out) to adjust the size of the image conveniently.

Step 4: Modify & adjust
Next, you could compare the before and after images in this editor interface to see whether it needs further modification. By clicking “Refine Edge” then adjust the roller of “Feather Edge” to make the matting edge blend into the background naturally.

Tips: The “Refine Edge” works well especially for portrait clipping.
Step 5: Download the cut-out image
Once you finish the whole process to remove the image background manually, click the “Download” button to download your final clipped image. You could choose the PNG format for the transparent background or JPG format for smaller file size and white background.
