Most people may hear about how to refine edge in Photoshop, it is a tricky process, right? In the “Manual Remove” of FocoClipping, it also exists one tool called “Refine Edge”, but this tool is super easy to use. Come to follow the below steps to explore its magic!
Step 1: Upload image
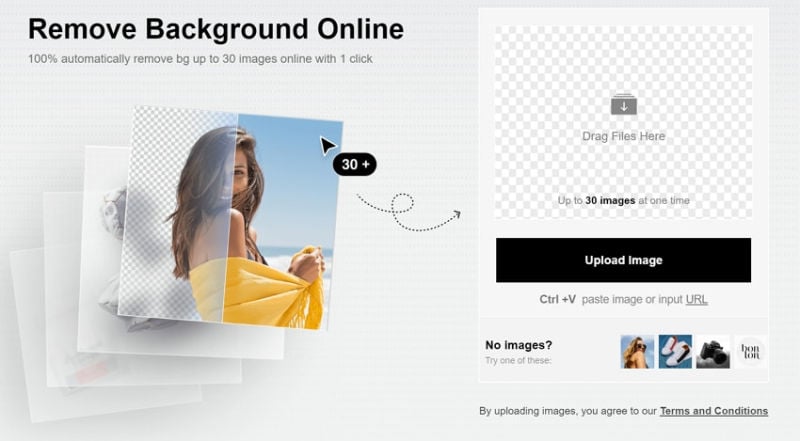
Open the official site of FocoClipping on your computer browser. Click “Upload Image”, select your desired image from your local computer.

Step 2: Choose “Manual Remove”
Once you have uploaded your image, it opened directly in the “Smart Remove” section of this tool. The AI tool will automatically begin the “Smart Remove” process. Forget about it, just select “Manual Remove”, use the blue tool to mark the area you wanted to keep, use the red tool to remove the area you don’t need.

Step 3: Select “ Refine Edge”
Now check if you have clipped off the background clearly. If you are satisfied with the outcome, then click “Refine Edge”. This tool is to make the clipped image edge indulge into the matting of the background smoothly so that it looks real and natural. By adjusting the degree of feather edge, you could see clearly the outcome of “Refine Edge”.

Step 4: Download the clipped image
Finally, your image is ready for download. Just click on the “Download” button and you’ll get options to choose for the file type. Select your desired file type (PNG or JPEG) and download the image to your computer.

